That kitchen or bathroom you've been dreaming of? It might be closer than you think. If your cabinets are looking a little tired, you don't need to tear them out and start from scratch. Refinishing your old cabinets is a total game-changer, and it's a project you can absolutely tackle yourself.
Ready to give your space a major glow-up without draining your bank account? This guide will walk you through everything you need to know. We’re talking step-by-step instructions, from prep to the final, flawless coat. Let's get started and turn those drab cabinets into something truly dreamy.
Step 1: Prep is Your Best Friend
You've heard it before, and it's 100% true: a great finish starts with great prep. This is the most important part of the process, so don't rush it! Taking the time to do this right will make all the difference.
What You'll Need:
- Screwdriver or drill
- Painter's tape
- Small plastic bags for hardware
- Degreaser or TSP (Trisodium Phosphate) cleaner
- Sponge and bucket
- Clean rags
The Process:
- Empty and Remove Doors: First, clear everything out of your cabinets. Then, carefully remove all the doors and drawer fronts. A drill will make this go much faster.
- Label Everything: This is a pro-level hack! Use painter's tape to label each door and drawer with its exact location (e.g., "above sink, left"). This will save you a massive headache when it's time to put everything back together.
- Bag the Hardware: Remove all hinges, knobs, and pulls. Place the hardware from each door into a labeled plastic bag so nothing gets lost.
- Clean, Clean, Clean: Kitchen and bathroom cabinets accumulate years of grease, grime, and gunk. Use a powerful degreasing cleaner to scrub down every surface—the doors, drawer fronts, and the cabinet boxes themselves. A clean surface is essential for the paint or stain to stick properly.
Step 2: Sand for a Smooth Finish
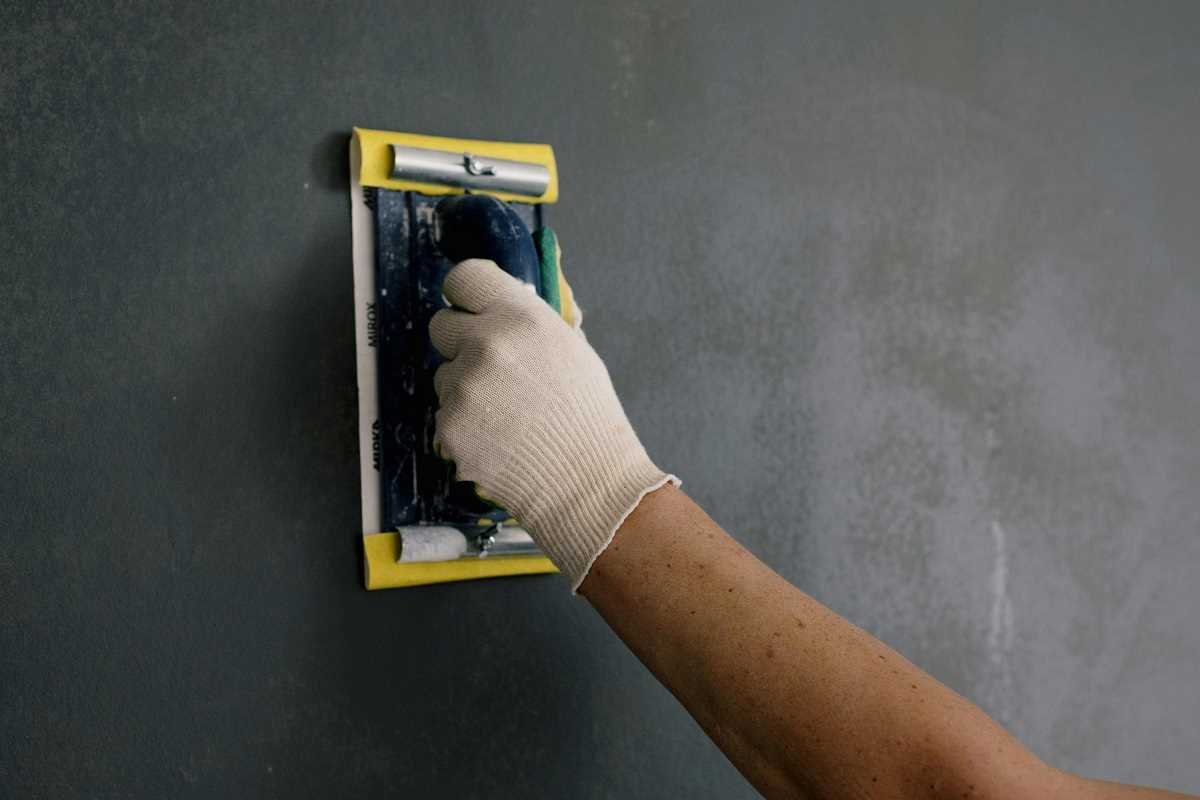
Sanding helps rough up the old finish so the new primer and paint have something to grip onto. It's a bit messy, but it’s a non-negotiable step for a durable, professional-looking result.
What You'll Need:
- Medium-grit (120-150) and fine-grit (220) sandpaper
- Sanding block or orbital sander
- Tack cloth or a damp microfiber cloth
The Process:
- Get Sanding: Using medium-grit sandpaper, lightly sand all the surfaces you plan to paint or stain. You don't need to strip the old finish completely; you're just scuffing it up. An orbital sander can speed this up, but a sanding block works fine for smaller jobs.
- Fill Imperfections: This is your chance to fix any dings, scratches, or old hardware holes. Use a good quality wood filler, apply it with a putty knife, and let it dry completely. Once dry, sand it smooth with fine-grit sandpaper.
- Wipe It Down: Sanding creates a lot of dust. Use a tack cloth or a damp microfiber cloth to wipe every surface clean. Any leftover dust will create a gritty, bumpy texture in your final finish.
Step 3: Prime for Perfection
Primer is the secret to a flawless, long-lasting paint job. It blocks stains, prevents the old color from bleeding through, and provides a perfect base for your new color.
What You'll Need:
- High-quality bonding primer
- Small foam roller
- A good quality angled brush
The Process:
- Choose the Right Primer: Look for a bonding primer specifically designed for glossy or slick surfaces. This will ensure maximum adhesion.
- Apply a Thin, Even Coat: Use your angled brush to "cut in" and prime any detailed areas or corners. Then, use a small foam roller to apply a thin, even coat of primer to the flat surfaces. The foam roller helps minimize brush strokes for a smoother look.
- Let It Dry: Follow the instructions on the can for drying times. Depending on the primer and humidity, you might need to wait several hours before it's ready for the next step. If the surface feels rough after priming, give it a very light sanding with fine-grit sandpaper and wipe it clean again.
Step 4: Paint or Stain for a New Vibe
This is where the transformation really happens! Whether you're going for a bold new color or a rich, classic stain, this is the fun part.
For Painting:
- Choose Your Paint: Select a high-quality paint made for cabinets and trim, like an acrylic-alkyd hybrid. These paints are self-leveling (which helps hide brush strokes) and cure to a hard, durable finish.
Trending Cabinet Colors
Want your cabinets to really pop? Here are some of the most popular choices right now:
- Sage Green: Soft, earthy, and soothing—pairs beautifully with brass or black hardware.
- Navy Blue: Bold, timeless, and perfect for making a statement, especially in modern or coastal-inspired spaces.
- Warm Greige: A mix of gray and beige for a cozy, contemporary vibe that complements any decor.
These shades are eye-catching, versatile, and look fresh year after year. Try bringing home a few paint swatches to see how each color plays with your lighting and countertops.
- Apply Two Coats: Using a clean brush and foam roller, apply your first coat of paint. Keep your coats thin and even to avoid drips. Let the first coat dry completely—don't rush it!
- Sand Lightly Between Coats: Once dry, give everything a light scuff-sand with fine-grit sandpaper. This helps the second coat adhere better and results in a super-smooth finish. Wipe away the dust, then apply your second coat.
For Staining:
- Strip the Old Finish: If you're staining, you'll need to completely remove the old finish down to the bare wood. Use a chemical stripper and a scraper for this. This is a much more involved process than painting.
Trending Stain Finishes
Elevate natural wood grain and let it shine with these top picks:
- Walnut Stain: Deep and rich, walnut gives cabinets a luxurious, classic feel that instantly warms up your space.
- Driftwood Finish: For a modern farmhouse look, driftwood brings a cool, weathered style that works well with both light and dark accents.
Selecting a trending stain is an easy way to give your cabinets a professional, designer-inspired refresh.
- Apply the Stain: Use a clean rag or a foam brush to apply the stain, working in the direction of the wood grain. Let it sit for the recommended time, then wipe off the excess with another clean rag. The longer you let it sit, the darker the color will be.
- Let It Dry: Stain needs ample time to dry before you can apply a protective topcoat. Check the can for specific drying times.
Step 5: Seal the Deal with a Topcoat
The topcoat is your armor. It protects your beautiful new finish from chips, scratches, and daily wear and tear.
What You'll Need:
- Water-based polyurethane or polycrylic in your desired sheen (matte, satin, semi-gloss)
- A high-quality synthetic brush
The Process:
- Apply a Thin Coat: Using a good brush, apply a very thin, even coat of your chosen sealant. Work in one direction and avoid over-brushing, which can create bubbles.
- Sand and Reapply: Let the first coat dry, then lightly sand with super-fine sandpaper (220-grit or higher). Wipe clean and apply a second coat. Two to three coats are ideal for maximum durability, especially in a high-traffic kitchen.
Step 6: Put It All Back Together
You're at the finish line! Once everything is completely cured (this can take a few days, so be patient), it’s time to reassemble your new-and-improved cabinets.
- Reinstall Doors and Drawers: Use your labels to put everything back in its original spot.
- Add New Hardware: This is the jewelry for your cabinets! Installing new knobs or pulls is an affordable way to complete the updated look.
- Admire Your Work: Step back and take it all in. You did that! You’ve completely transformed your space with your own two hands, all while saving a ton of money.
 (Image via
