Ready to give your space a major upgrade? Installing hardwood floors is a total game-changer, bringing a timeless, authentic vibe to any room. While it might seem like a huge project, it's totally doable as a DIY. Imagine the satisfaction of transforming your room with your own two hands—not to mention the money you'll save. This guide breaks down everything you need to know to install hardwood floors yourself.
From picking the right wood to laying the final plank, we've got you covered. Let's get started on this rewarding project and bring those dream-floor goals to life.
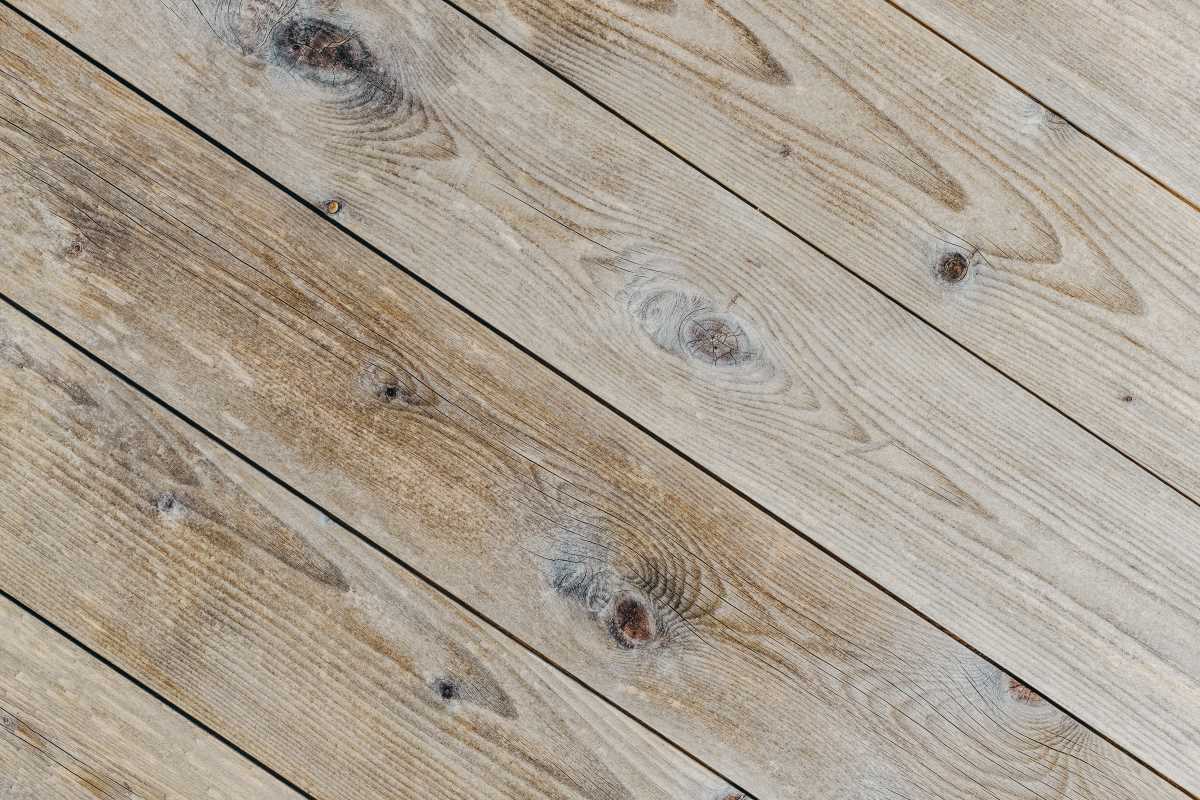
Step 1: Choose Your Hardwood
First things first: picking the perfect flooring. This choice sets the tone for your entire space, so it's a big deal. There are a few main types of hardwood to consider, each with its own look and installation method.
- Solid Hardwood: This is the OG. Each plank is made from a single, solid piece of wood. It's super durable and can be sanded and refinished multiple times, meaning it can last for decades. It's a fantastic long-term investment.
- Engineered Hardwood: This type has a real-wood veneer on top of a high-quality plywood base. It's more resistant to changes in humidity and temperature, making it a great choice for basements or kitchens. It often comes as a "click-lock" floating floor, which is very DIY-friendly.
- Bamboo: A popular sustainable option, bamboo is technically a grass but functions like hardwood. It's strong, durable, and has a unique, modern look. It's a great way to make an eco-friendly choice without sacrificing style.
When you're choosing, think about the vibe you want. Lighter woods like oak or maple can make a room feel open and airy, while darker woods like walnut or cherry create a cozier, more dramatic feel.
Step 2: Gather Your Tools and Materials
Before you start, you'll need to gear up. Having everything ready will make the process way smoother.
Essential Tools:
- Measuring tape
- Pencil
- Chalk line
- Miter saw or circular saw (for cutting planks)
- Jigsaw (for tricky cuts around vents or doorways)
- Pry bar and mallet
- Tapping block and pull bar
- Spacers (to leave an expansion gap)
- Flooring nailer (if you're using solid hardwood)
- Knee pads (your knees will thank you)
Key Materials:
- Your chosen hardwood flooring (buy 10-15% extra for cuts and mistakes)
- Underlayment (a thin layer of foam or felt that goes under the floor)
- Moisture barrier (if installing over a concrete subfloor)
- Wood filler and finishing nails
Step 3: Prep the Room and Subfloor
This is the most important step for a pro-level finish. Don't rush it! A properly prepped subfloor is the foundation for a floor that won't squeak, buckle, or shift.
- Clear Everything Out: Remove all furniture, rugs, and anything else from the room.
- Remove Old Flooring: Tear out any old carpet, vinyl, or laminate. Use a pry bar to remove the baseboards carefully so you can reuse them later.
- Clean the Subfloor: Sweep and vacuum the subfloor thoroughly. Get rid of any dust, debris, or old staples. A clean surface is non-negotiable.
- Level and Repair: Check if the subfloor is level. Use a long level to find any high or low spots. Sand down high spots and use a self-leveling compound to fill in any dips. Secure any loose plywood with screws to prevent squeaks.
Step 4: Let the Wood Acclimate
This might sound extra, but it's crucial. Wood is a natural material that expands and contracts with changes in temperature and humidity. You need to let your new flooring get used to its new environment.
Bring the boxes of hardwood into the room where you'll be installing them. Open the boxes and let the wood sit for at least 72 hours. Skipping this step can cause your beautiful new floors to warp or buckle after installation.
Step 5: Plan Your Layout
Before you lay the first plank, plan your attack. Decide which direction the planks will run. A good rule of thumb is to lay them parallel to the longest wall or running in the same direction as the main light source (like a big window).
Measure the width of the room and divide it by the width of a single plank. This helps you figure out if your last row will be a super-thin, awkward-looking strip. If it is, you can trim your first row to be a bit narrower, which makes both the first and last rows a more balanced size.
Step 6: Install the Underlayment
Roll out your underlayment across the entire subfloor. If you're using a separate moisture barrier, lay that down first. The underlayment helps with sound absorption, provides a bit of cushion, and allows the floor to move slightly.
Cut the underlayment to fit the room, and tape the seams together. Don't overlap the pieces—just butt the edges up against each other.
Step 7: Time to Install the Floor!
This is the fun part! Let's get to laying the planks.
- The First Row is Key: Snap a chalk line to guide your first row. Make sure it's perfectly straight. Place spacers against the wall to create a 1/4 to 1/2-inch expansion gap. This gap is essential because it gives the wood room to expand. The baseboards will cover it later.
- Lay the Planks: Place your first plank down along the chalk line with the tongue side facing the wall. If you're using a nail-down floor, face-nail this first row. For a click-lock floating floor, just click the pieces together.
- Stagger the Seams: To get that classic hardwood look, you need to stagger the seams between rows. Use the piece you cut from the end of the first row to start the second row (as long as it's at least 6 inches long). This creates a random, natural pattern.
- Secure the Planks: For nail-down floors, use a flooring nailer to drive nails through the tongue of each plank at an angle. For click-lock floors, use a tapping block and mallet to gently tap the planks together for a tight fit. Use a pull bar to tighten the last plank in each row.
- Cutting Around Obstacles: When you get to a doorway, vent, or weird corner, use your jigsaw to cut the plank to the right shape. Make a template with paper first to ensure a perfect fit.
Step 8: The Finishing Touches
You're almost there! The final details are what will make your floor look truly finished.
- The Last Row: You'll likely need to rip-cut (cut lengthwise) the last row of planks to fit. Remember to leave the same expansion gap against the final wall.
- Reinstall Baseboards: Once all the flooring is down, remove the spacers and reinstall your baseboards. Use finishing nails to secure them to the wall, not the floor.
- Add Transitions: Use transition strips in doorways to create a smooth connection between your new hardwood and the flooring in the next room.
Doing it yourself is a big accomplishment. You've not only saved money but also added serious value and authentic style to your home.